As you are making your free and easy trips in Japan, you are probably thinking how can I remain connected. How do I get access to Facebook, Twitter, Instagram, Whatsapp and maybe email. Of course you could use your existing phone and SIM card with roaming but that’s a rather expensive option. Today, let’s look at some of the cheaper options such as:
1. Renting a phone
This is the traditional approach, renting a phone with a local number and SIM card. In the past this was necessary as Japan is using the CDMA cellular system. However, for most of us today, we are probably more concerned about data plans and internet connectivity rather than voice.
2. Buying a data SIM card
I wasn’t able to find a voice plus decent size data plan combined SIM option. All the plans with a decent data size that I could find were for data only SIM cards. However, I didn’t feel this is an issue at all as I was planning to make calls using Whatsapp.
3. Renting a mi-fi router
This is the other common option available. Typically, this plan consists of a daily rental fee for the mi-fi router plus a separate daily rate for unlimited data access. For those of you wondering what this is, well a mi-fi router is typically a small battery operated router which you inserted a SIM to connect to the phone data network. It also operates as a wireless access point so you can hook up several devices.
Now the next question would be where do I get these. You can get any of these on the spot from various places at Narita airport. In terminal 1, there are telco stores/booths in the central building, such as this one below:
Telco booth at Narita airport
For data SIM cards, there are more options. You can buy them from a vending machine or from the convenience store.
SIM card vending machine at Narita airportPrepaid data SIM options at convenience store in Narita airport
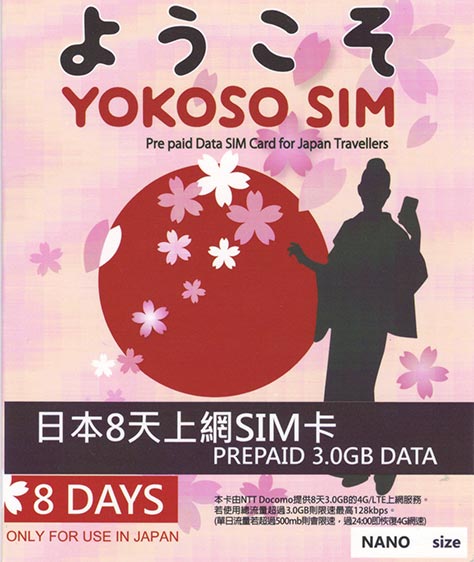
For myself, I decide to try out the Docomo “Yokoso SIM” card. I bought it locally from JTB, before leaving for Japan. Price was around USD26 for the 8 days 3 GB plan, comparable to the offerings onsite at Narita. I had done an online search and there didn’t seem to be a cheaper option. Plus, for these, it meant having the SIM card mailed to you or collecting it at Narita after your order.
Docomo Yokoso SIM
The data size wasn’t huge, but I reckon it was good enough for my needs – Whatsapp messaging, Whatsapp calls, Internet browsing, Google maps, tenki (local weather app) and hotspot for my laptop. Anyway, I would have access to Wi-Fi when I am in the hotel. I decided against the mi-fi option as it was rather expensive having to rent the router daily and having another device that I would need to carry around and charge.
Some of you might be thinking of leveraging the free wi-fi hotspots provided by NTT East for visitors to Japan. Probably because I was travelling through the less popular areas, I only found 1 hotspot during my last self drive trip. So I was very happy that my data SIM was there to provide coverage.
Today, I would like to share with you my self drive trip to the Shirakami Sanchi (白神山地), one of the four UNESCO World Natural Heritage Sites in Japan. If you are wondering which are the four sites, here’s the list:
Shirakami Sanchi sits across the border of Aomori and Akita, an extensive mountain range known for its natural Japanese beech (or buna) forests with a size close to 17,000 ha. It was added as an UNESCO World Natural Heritage Site in 1993.
When you are visiting Shirakami Sanchi, you are probably visitng the surrounding area as the core conservation area is quite inaccessible and requires a permit for entry. However, even the surrounding area holds many nature wonders for the visitor.
The best times to visit are late spring/early summer season where the waterways would be full from the melting snow and rain and autumn season to catch the changing foliage. Do note that many of the access roads are closed from November through May.
As the site is rather vast, you will need to do some planning for your trip. Which places to visit together, how much time would be need at each of the places of interest and travel time between places. Here are some of the places to visit, most of which would a rental car to move around.
1. Shirakami Sanchi Visitor Centre
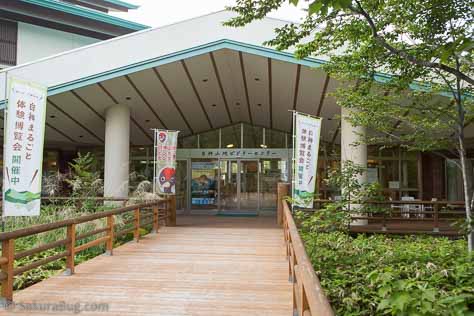
The Shirakami Sanchi Visitor Centre (白神山地ビジターセンター, 0172-85-2810) is located in Aomori prefecture, on the east side of the national park along route 28, easily accessible if you are coming from Hirosaki, roughly 30 to 45 minutes by car.
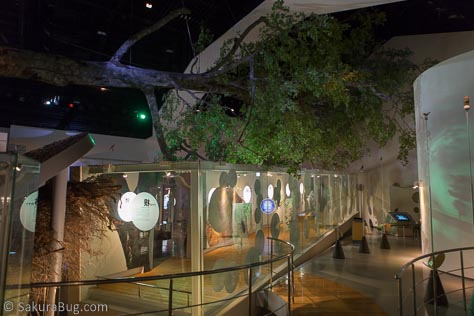
Entrance of Shirakami Sanchi Visitor CentreInterior of Shirakami Sanchi Visitor Centre
There are 3D models of the fauna and ecosystem inside, with extensive coverage of the beech eco system. In addition, an IMAX screen shows a 30 minute film about the area a few times daily. The opening hours of the visitor centre are seasonal, with it being closed on some days, usually Monday, so do check before making a trip down.
2. Aqua Green Village Anmon and Anmon Falls
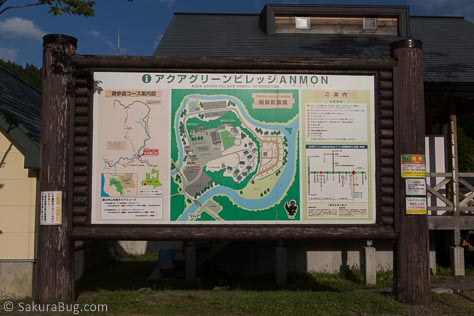
The Aqua Green Village Anmon < http://www.kumagera.net> (アクアグリーンビレッジANMON, Tel: 0172-85-3021) is also located on the eastern side of the National Park. Here, you can find lodging, an onsen, a campground, specialty store and a huge play area. A place which you could use as a base for touring the eastern side of the Shirakami Sanchi World Natural Heritage Site.
Map of Aqua Green Village Anmon
From the Village, there are various walking trails available. One of which is the Beech forest walking trail, a 2km route (round trip) taking about 60 to 120 minutes.
The hiking trail to the Anmon Falls is also accessible from the village. The Anmon Falls are a set of three waterfalls. It will take around 45 to 60 minutes to reach the first fall and another 30 to 45 minutes to reach the other two.
3. Mount Futatsumori
On the western side of the park, which is more easily accessible from Akita, you have Mount Futatsumori from which you can get a great view of the mountains and valleys at the peak standing at an elevation of 1,086 m. The climb starting from the Futatsumori Mountain Trail Entrance, near to the car park, to the peak takes roughly 1 hour.
4. Juniko
Also on the western side of the park, further north along Route 101 but tranversing into Aomori prefecture, you will find Juniko (十二湖). Juniko literally means twelve lakes.
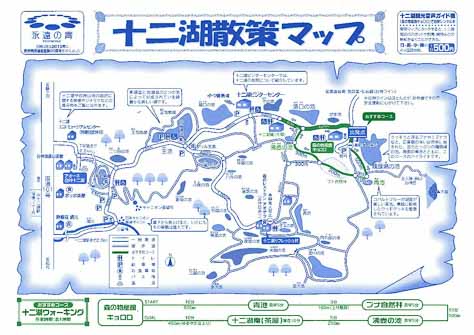
The GPS brought me to somewhere in Juniko, although I had keyed in the phone number for the Juniko Visitor Centre, leaving me to figure out my way around. Luckily, I managed to get hold of an area map.
Juniko area map (click image for PDF)
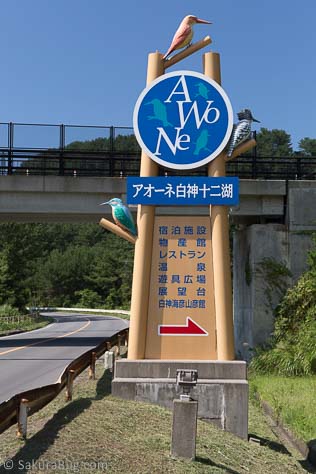
There are 2 entrances along Route 101 near the Juniko station into Juniko. If you are travelling north to Shirakami Sanchi from Akita, like what I did, I would suggest that you enter via the second entrance. The first entrace is just before the Juniko station, the second entrance is a little after the Juniko station. The second entrance will lead you into AWONE Shirakami Juniko <http://shirakami-jyuniko.jp/> (アオーネ白神十二湖, Tel: 0173-77-3311). You should see this signboard at the second entrance.
Entry signboard to AWONE Shirakami JunikoEntrance of AWONE Shirakami Juniko
There is lodging available here if you want to make this a base for your western foray into Shirakami Sanchi. There are souvenir shops, restaurants and an outdoor play area here too. I had my lunch here and made my plans using the area map while having lunch. The 12 lakes are quite scattered and involves driving through narrow roads to reach each of them.
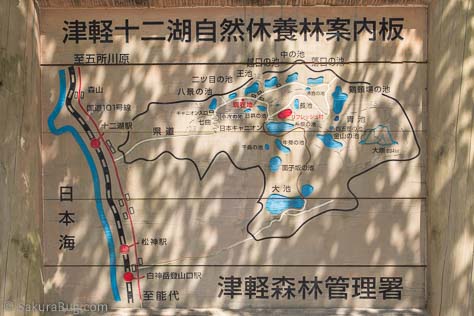
Juniko signboard
There is a recommended walking trail right at the end which takes you across 4 of the lakes as well as a beech forest – see the green marked trail in the area map. The estimated time needed is one hour. There is paid parking available at the start of the trail. Though I must say this is based on an honour system. Most people park their cars then make their way to the manual payment booth at the entrance of the car park.
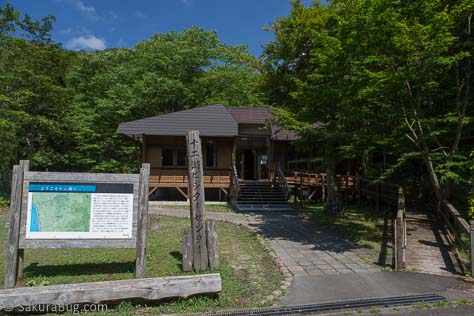
Juniko Visitor Centre
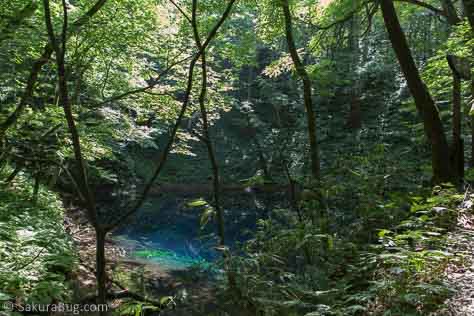
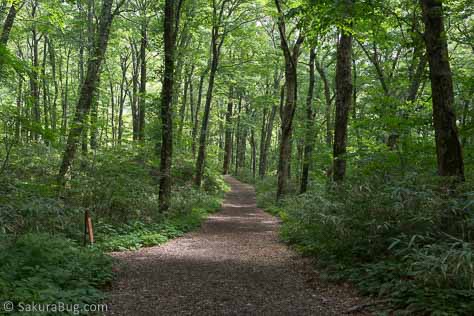
I located the Juniko Visitor Centre, which is an unmanned hut, had a quick look around before heading to the recommended walking trail. It is quite an easy walk, but do keep a watch out for vehicles on the small section towards the end, heading back to the start point, as you will be walking on the narrow road. Here’s a picture of the Aoike Pond along the trail and also the beech forest.
Aoike Pond in JunikoBeech forest in Juniko area
Yes, there is a souvenir shop with refreshments for sale at the entrance of the car park, your start and end point for the hike.
5. Route 28
No, do not try to cut through Route 28. After completing your explorations on the western end of Shirakami Sanchi, it is tempting to use Route 28 to reach the eastern end as it looks like a short cut. Here’s a local map snapped from an info board, do note that north is down, so Akita is on the right and Hirosaki is on the left.
Info board for Shirakami Sanchi
At the Shirakami Sanchi stretch, Route 28 has around 41km of unpaved winding road that you will need to drive through. Most of the stretches are wide enough for just one vehicle to pass through, and mind you, it’s a 2 way road. You would be driving mostly at speeds of around 20 to 30 km/h, taking close to 3 hours of slow and painful driving to get through. Throughout the entire journey, less than 10 vehicles had passed me from the other direction.
Unpaved road section along Shirakami Sanchi stretch of Route 28
I also like this map from Japan Guide showing the unpaved road sections. Unless you are planning to use the lookout points along Route 28, I would suggest that you use take Route 101 further north before looping down into Hirosaki and the eastern end of Shirakami Sanchi.
Japan is made up of four main islands, Honshu, Kyushu (九州) and Shikoku and Hokkaido. Today, we will be going on a free and easy trip around Fukuoka (福岡) located in Kyushu. The city of Fukuoka is also known as Hakata.
For this self drive trip, I took roughly a circular route starting from Fukuoka, then headed south to Kumamoto. Next on the destination was the Aso area before taking the Yamanami scenic route to Oita/Beppu. On the way back to Fukuoka, I also made a detour to the Tosu factory outlet (Premium outlets) for some shopping.
Fukuoka became the staging point for me in this free and easy journey. Our very first stop was the Aeon Mall in Fukuoka to stock up on supplies plus dinner in the shopping complex. Then it was time to get some rest at the hotel before taking the drive south to Kumamoto the next morning.
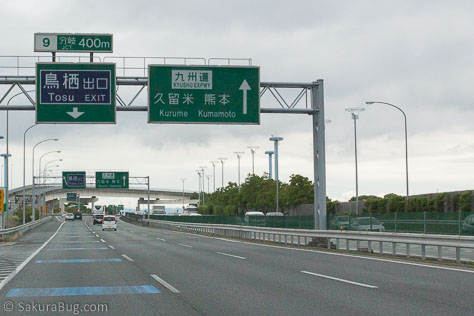
Kyushu Expressway to Kumamoto
1. Kumamoto city and Kumamoto Castle
Kumamoto is located roughly in the centre of Kyushu. It is a major city with a population of around 750,000. It is also called a “City of Forests” since green forests cover about 60% of the entire prefecture.
It also houses one of the largest-scale shopping arcade in Japan. The arcade is in the city centre, housing a huge variety of shops. We stayed in the city area and was able to walk around town and explore the shopping arcade.
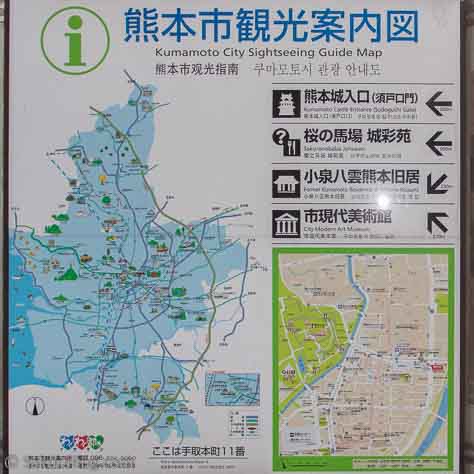
Kumamoto City Map
Kumamoto Castle (熊本城), one of the great castles in Japan, is a big tourist magnet located in centre of the city area. Unfortunately, there was heavy damage to the castle in the April 2016 earthquake and it is now closed to the public.
2. Fruit picking in Kumamoto fruit farms
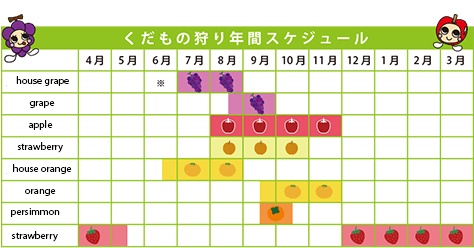
Kumamoto is also known as the land of fruits. There are various farms which you could visit for fruit picking. Kichijien (吉次園, Tel: 096-273-2544) is one of the tourist farms which you can visit. It is located in the more remote farm areas quite a distance away from the city. You will need a rental car to get there.
Do take note of the fruit picking season. While they are open most of the year, June is when it is closed to visitors.
Kichijien fruit picking schedule from their website with added English overlay
3. Aso Farm Land
Next on the route was Aso Farm Land (阿蘇ファームランド, Tel: 0967-67-2100). This is a rather interesting and unique place, which combines Experience, Sports, Healing, Gourmet, Stay and Shopping in one huge expansive location. There is some impact from the April 2016 earthquake and the resort will be reopened in August 2016.
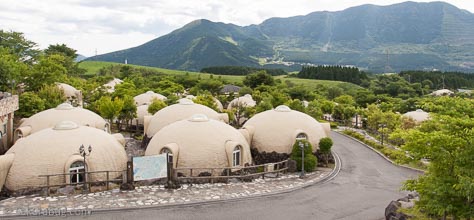
One of the things that catches your eye would be the unique accommodation facilities. There are a few clusters of dome huts very much like igloos against the Aso mountain range backdrop. These are the hotel rooms that you will be staying in. This would be the “Stay” zone.
Dome huts in Aso Farm Land
Hot springs can be found in the “Healing” zone. There are different options available, such as the open air spa, hot spring with scenic view, the mineral water bath and the herbal water bath.
There are different sporting activities available in the “Sports” zone which is in the Forest Vitality area. There are different interactive equipment here to get a fun workout in a nature setting.
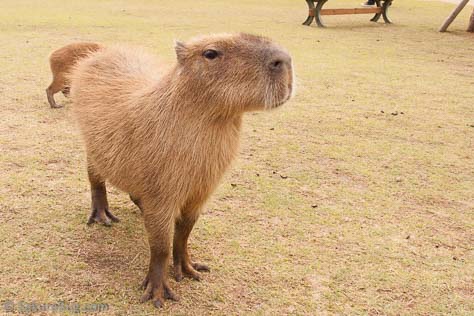
In the “Experience” zone, you will be able to get close up to some farm animals. There is also a feeding area where some animals are roaming around. You can buy animal feed from a dispenser and have fun feeding these animals in the enclosure.
Animal enclosure in Aso Farm Land
4. Mount Aso
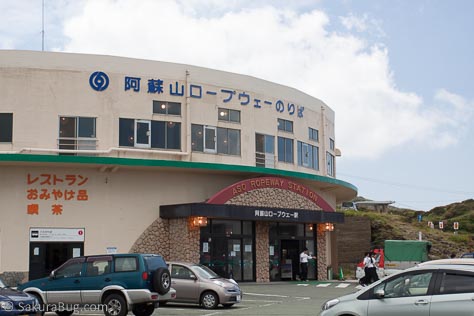
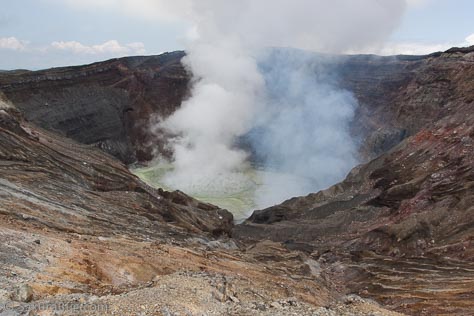
Near to Aso Farm Land is Mt. Aso. (阿蘇山), located within the Aso-Kuju National Park. It is an active volcano with a massive caldera housing a range of five peaks including Mt. Nakadake and its crater.
5. Yamanami scenic route and Kokonoe Yume Suspension Bridge
The Yamanami Highway or Route 11 in the maps takes you through the rolling, grass covered hills of Kyushu. It roughly stretches from Beppu City/Oita to Aso City/Kumamoto. It is a popular drive with many great hot spring spots along the way. There are also many scenic viewing spots as well as trails for hiking and walking.
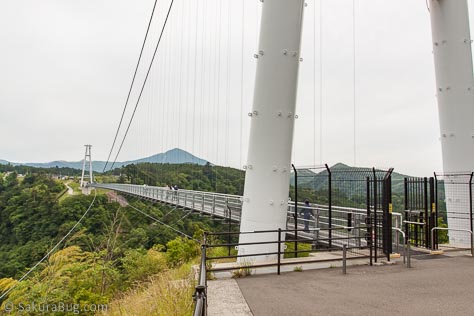
One of the key attractions along the route is the Kokonoe Yume Suspension Bridge (九重”夢”大吊橋, Tel: 0973-73-3800). Standing at 173m tall and spanning 390m long, it is the highest pedestrian walkway bridge in Japan. From the bridge, you would be able to see Shindonotaki falls (震動の滝), which is among the top 100 waterfalls in Japan.
Kokonoe Yume Suspension Bridge
6. Chojabaru Visitor Centre
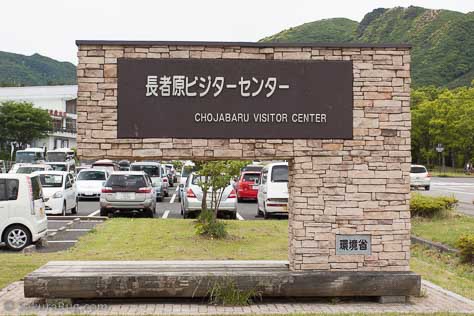
Another place to visit along the Yamanami Highway would be the Chojabaru Visitor Centre (Tel: 0973-79-2154) which is within the Aso Kuju National Park, midway between Aso and Yufuin. From the Visitor Centre, you will be able to catch of view of the Mt Io and the three domed Mt. Mimata.
Chojabaru Visitor Centre
The key feature would be the Tadawara Marsh on the north west side of the Kuju mountain range. It is a basin shaped wetland caused by historical volcanic activity. There are 3 walking courses to choose from, the Marsh Boardwalk, the Marsh and Grassland trail and the Forest trail. The shortest course would be the Marsh Boardwalk, taking about 20 to 30 minutes at a very leisurely pace. The entrance to the boardwalk is near to the Visitor Centre.
7. Mt. Takasaki Wild Monkey Park
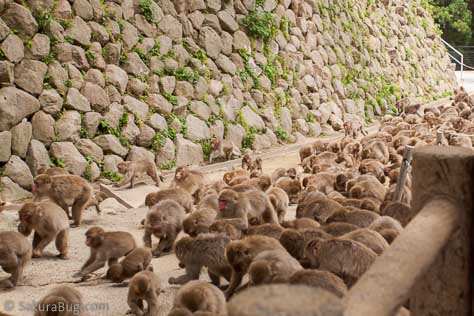
As we continue driving east, we reached Oita (大分), which is where the Mt. Takasaki Wild Monkey Park (高崎山自然動物園, Tel: 097-532-5010) is located. It is a monkey reserve at the base of Mount Takasaki, housing around 1400 wild monkeys that roam freely on the mountain slopes. Yes, these are wild monkey and visitors must keep their distance, neither tease nor feed them and not to look them in the eye.
The park was opened as a way to solve the human-monkey conflict. These monkeys are feed regularly so that not encroach into residential areas nor farming areas. You can see the huge hordes of monkeys running for the food when it’s feeding time.
Monkeys feeding at Mt. Takasaki
With that, we headed back to Fukuoka, but made a detour to Tosu, location of the nearest Premium Outlets.